> ## Documentation Index
> Fetch the complete documentation index at: https://docs.bfl.ml/llms.txt
> Use this file to discover all available pages before exploring further.

# Building a Good Prompt

> How FLUX reads prompts and how to structure them into clear, controllable image instructions

export const PromptDisplay = ({prompt}) => {
  const [copied, setCopied] = useState(false);
  const copy = () => {
    navigator.clipboard.writeText(prompt);
    setCopied(true);
    setTimeout(() => setCopied(false), 2000);
  };
  return <div className="not-prose" style={{
    marginTop: "1rem"
  }}>
      <div style={{
    backgroundColor: "#1a1a1a",
    borderRadius: "1rem",
    padding: "1.25rem 1.5rem",
    display: "flex",
    flexDirection: "column",
    gap: "1rem"
  }}>
        <p style={{
    color: "#e5e5e5",
    fontSize: "1rem",
    lineHeight: 1.6,
    margin: 0,
    fontFamily: "inherit"
  }}>
          {prompt}
        </p>
        <div style={{
    display: "flex",
    justifyContent: "flex-end"
  }}>
          <button onClick={copy} style={{
    backgroundColor: copied ? "#3d8a5b" : "var(--aspen-evergreen, #486A58)",
    color: "#fff",
    border: "none",
    borderRadius: "0.375rem",
    padding: "0.25rem 0.6rem",
    fontSize: "0.7rem",
    fontWeight: 600,
    cursor: "pointer",
    transition: "background-color 0.2s"
  }}>
            {copied ? "Copied!" : "Copy prompt"}
          </button>
        </div>
      </div>
    </div>;
};

export const PromptFormulaFrame = () => {
  return <div className="prompt-formula-card not-prose">
      <div className="prompt-formula-card__border">
        <div className="prompt-formula-card__surface">
          <div className="prompt-formula-card__wash" aria-hidden="true" />
          <pre className="prompt-formula-card__copy">
            {`[SUBJECT], [LOCATION],
[STYLE], [CAMERA SETTINGS], [LIGHTING], [COLORS], [EFFECT],
[ADDITIONAL ELEMENTS]`}
          </pre>
        </div>
      </div>
    </div>;
};

## Prompt length

<Tip>
  FLUX.2 supports prompts up to 32K tokens.
</Tip>

| Length     | Words   | Best For                                              |
| ---------- | ------- | ----------------------------------------------------- |
| **Short**  | 10-30   | Quick concepts, fast iteration, style exploration     |
| **Medium** | 30-80   | Most scenes and everyday prompting                    |
| **Long**   | 80-300+ | Complex multi-subject scenes or very directed outputs |

<Warning>
  Start short. Add only what changes the image. More words do not automatically mean better results.
</Warning>

## Structure helps

The goal is not to write the longest possible prompt. The goal is to give FLUX a clear structure.

A good prompt works like a set of instructions. It tells the model what kind of image you want, what the main subject is, where the scene happens, and how it should feel visually.

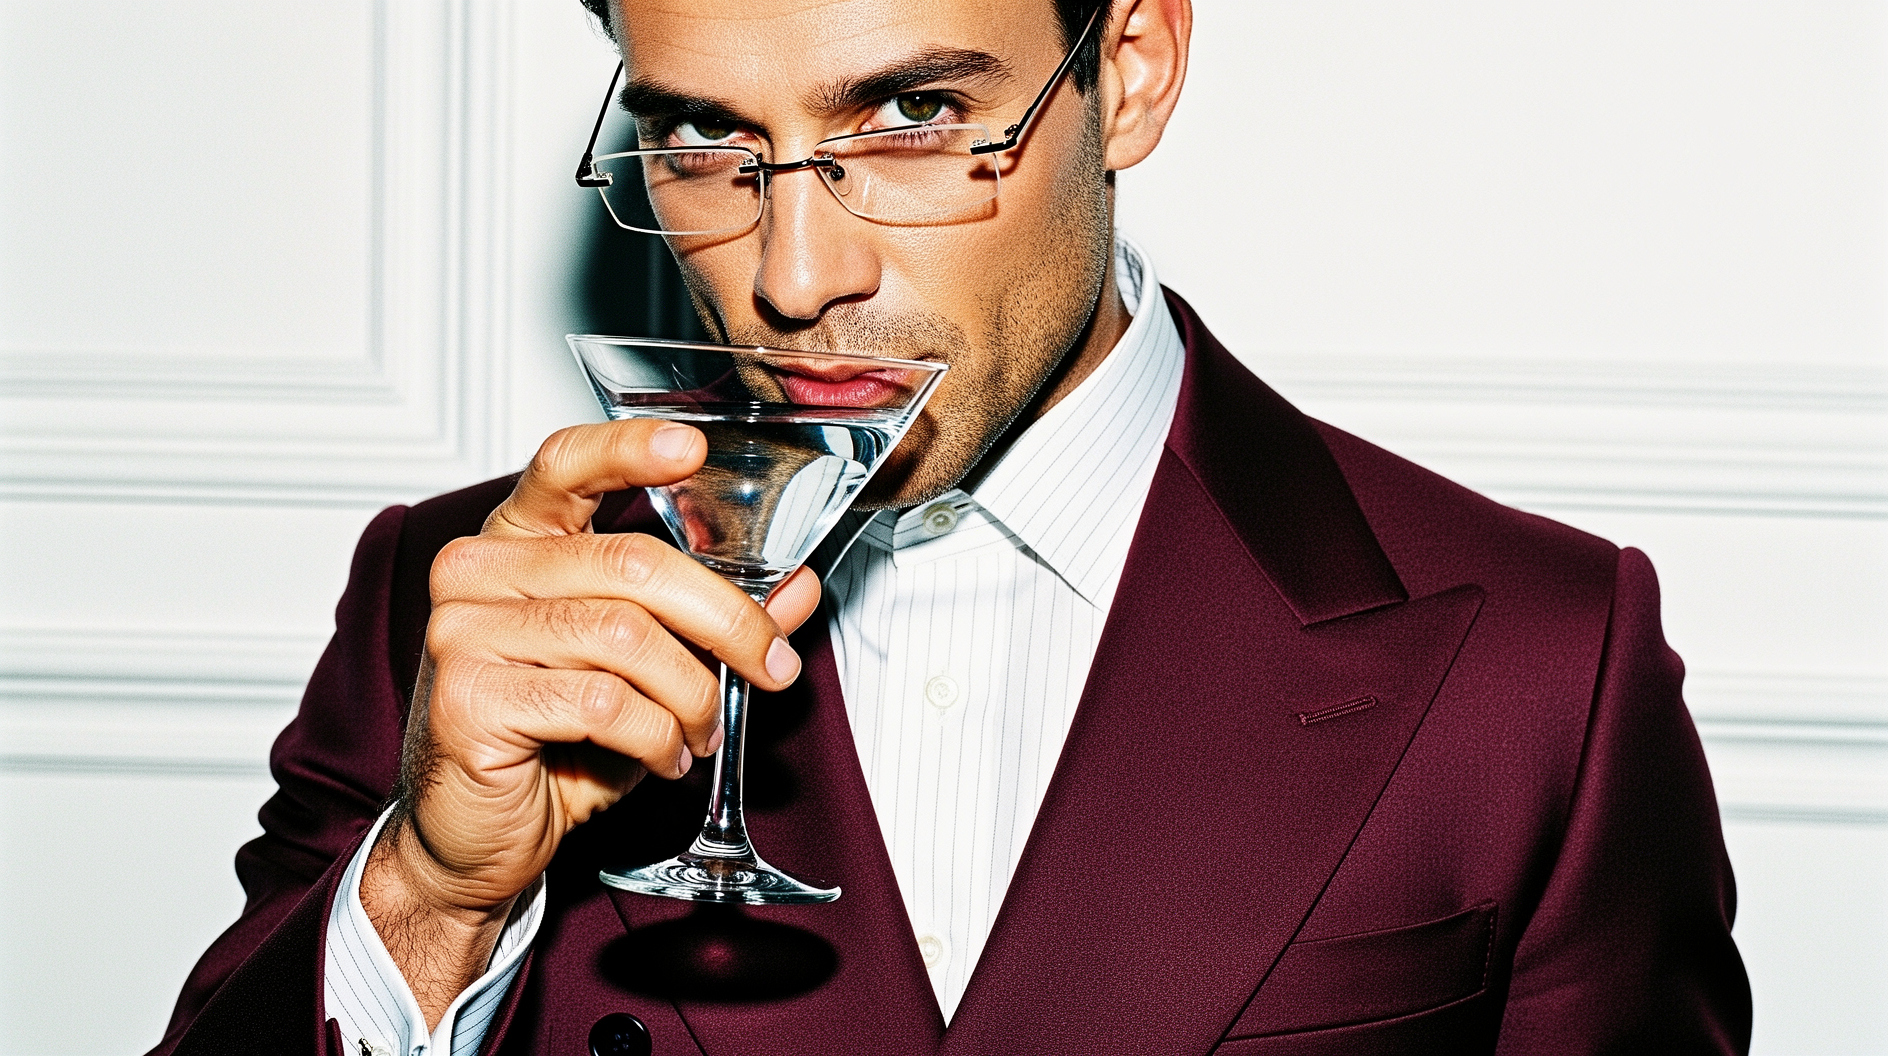
One useful way to organize that information is this template:

<PromptFormulaFrame />

<Tip>
  This is a prompt-building aid, not a rule. You do not need every slot every time. Use the parts that actually improve the image you want.
</Tip>

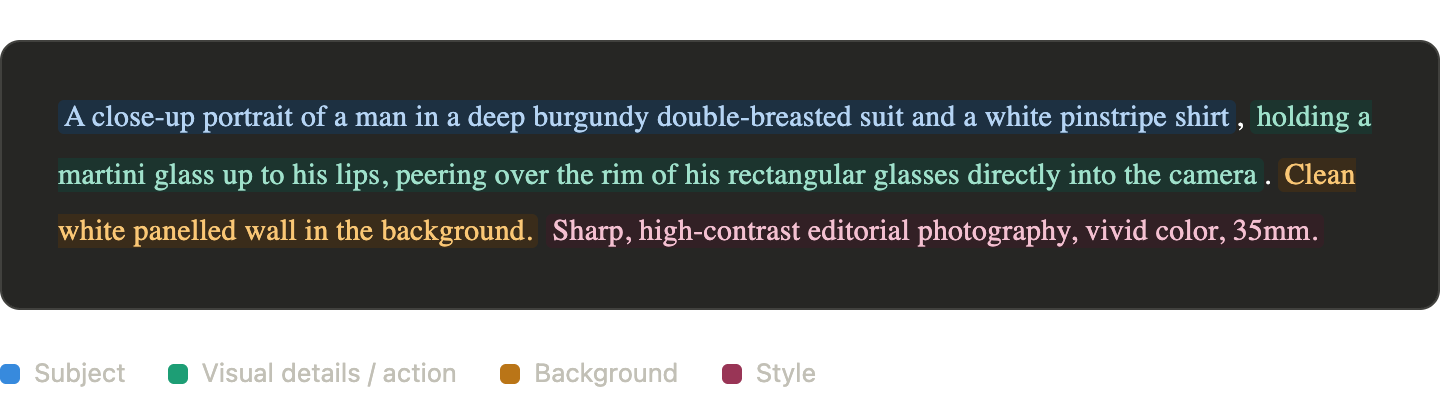
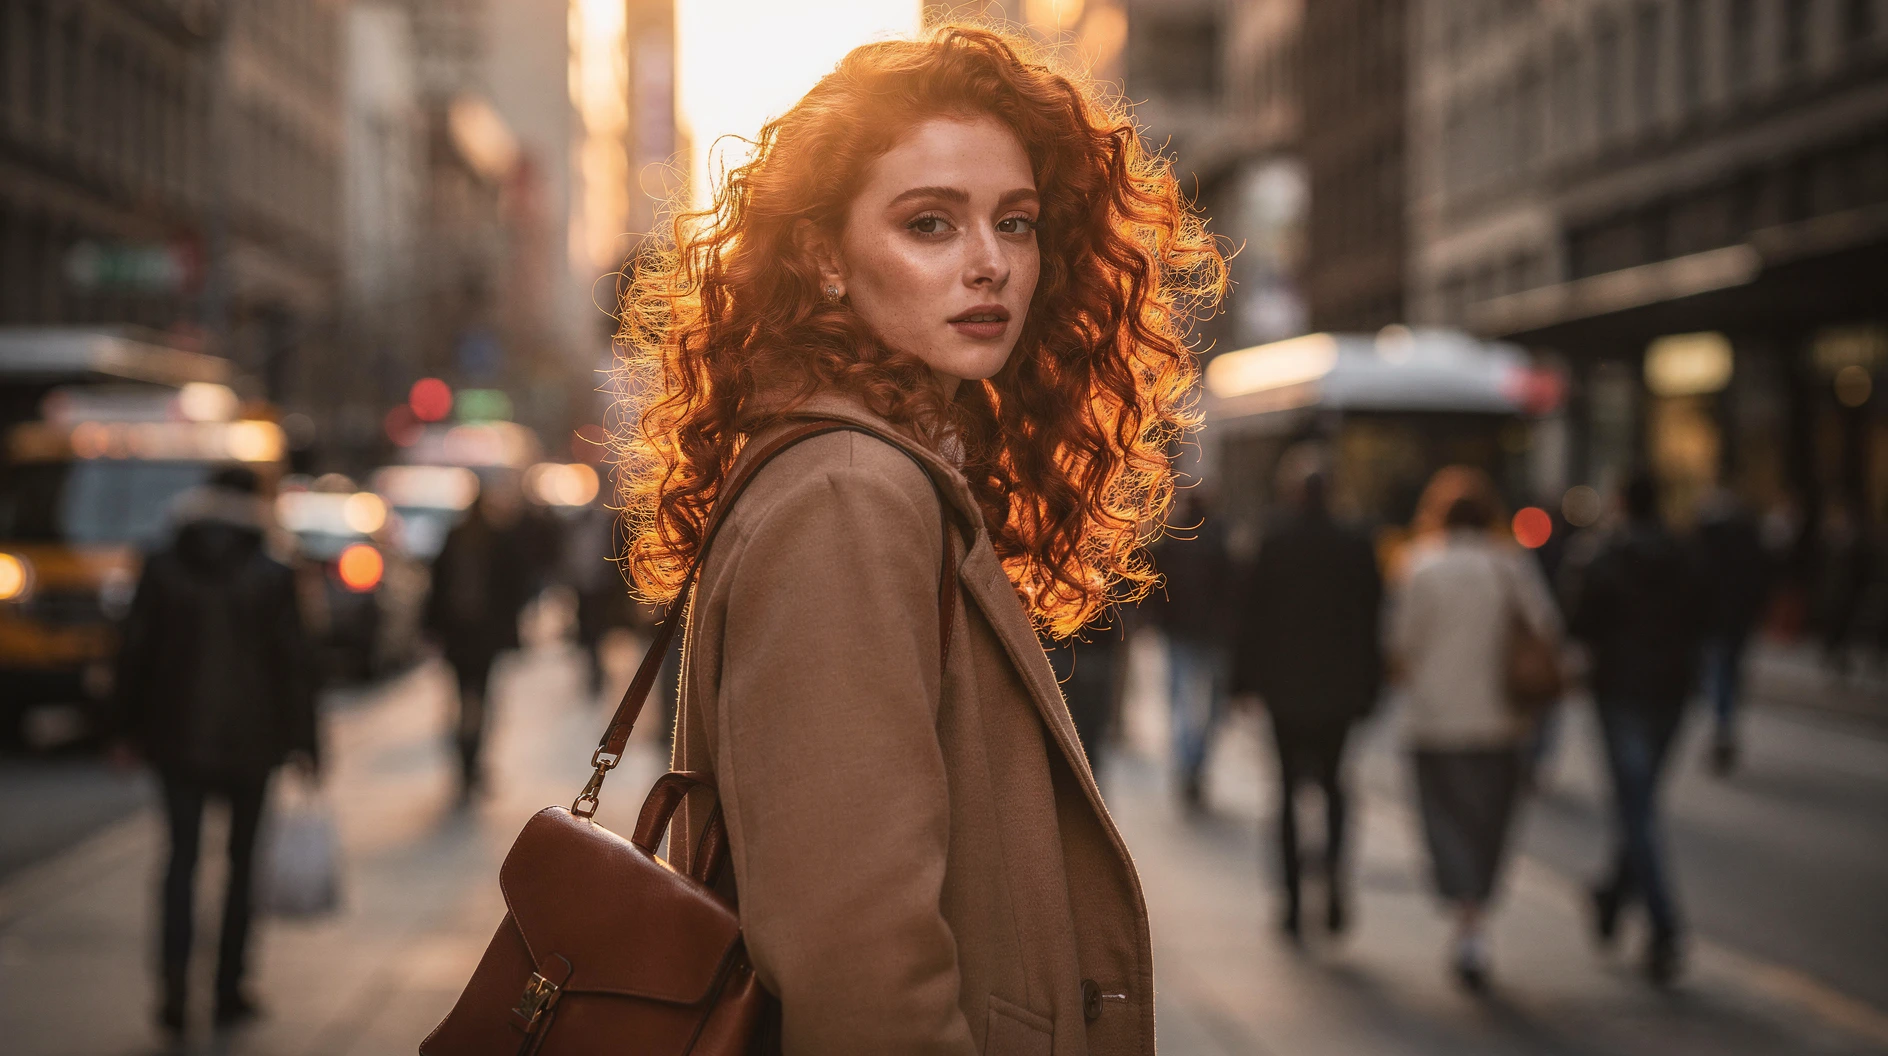
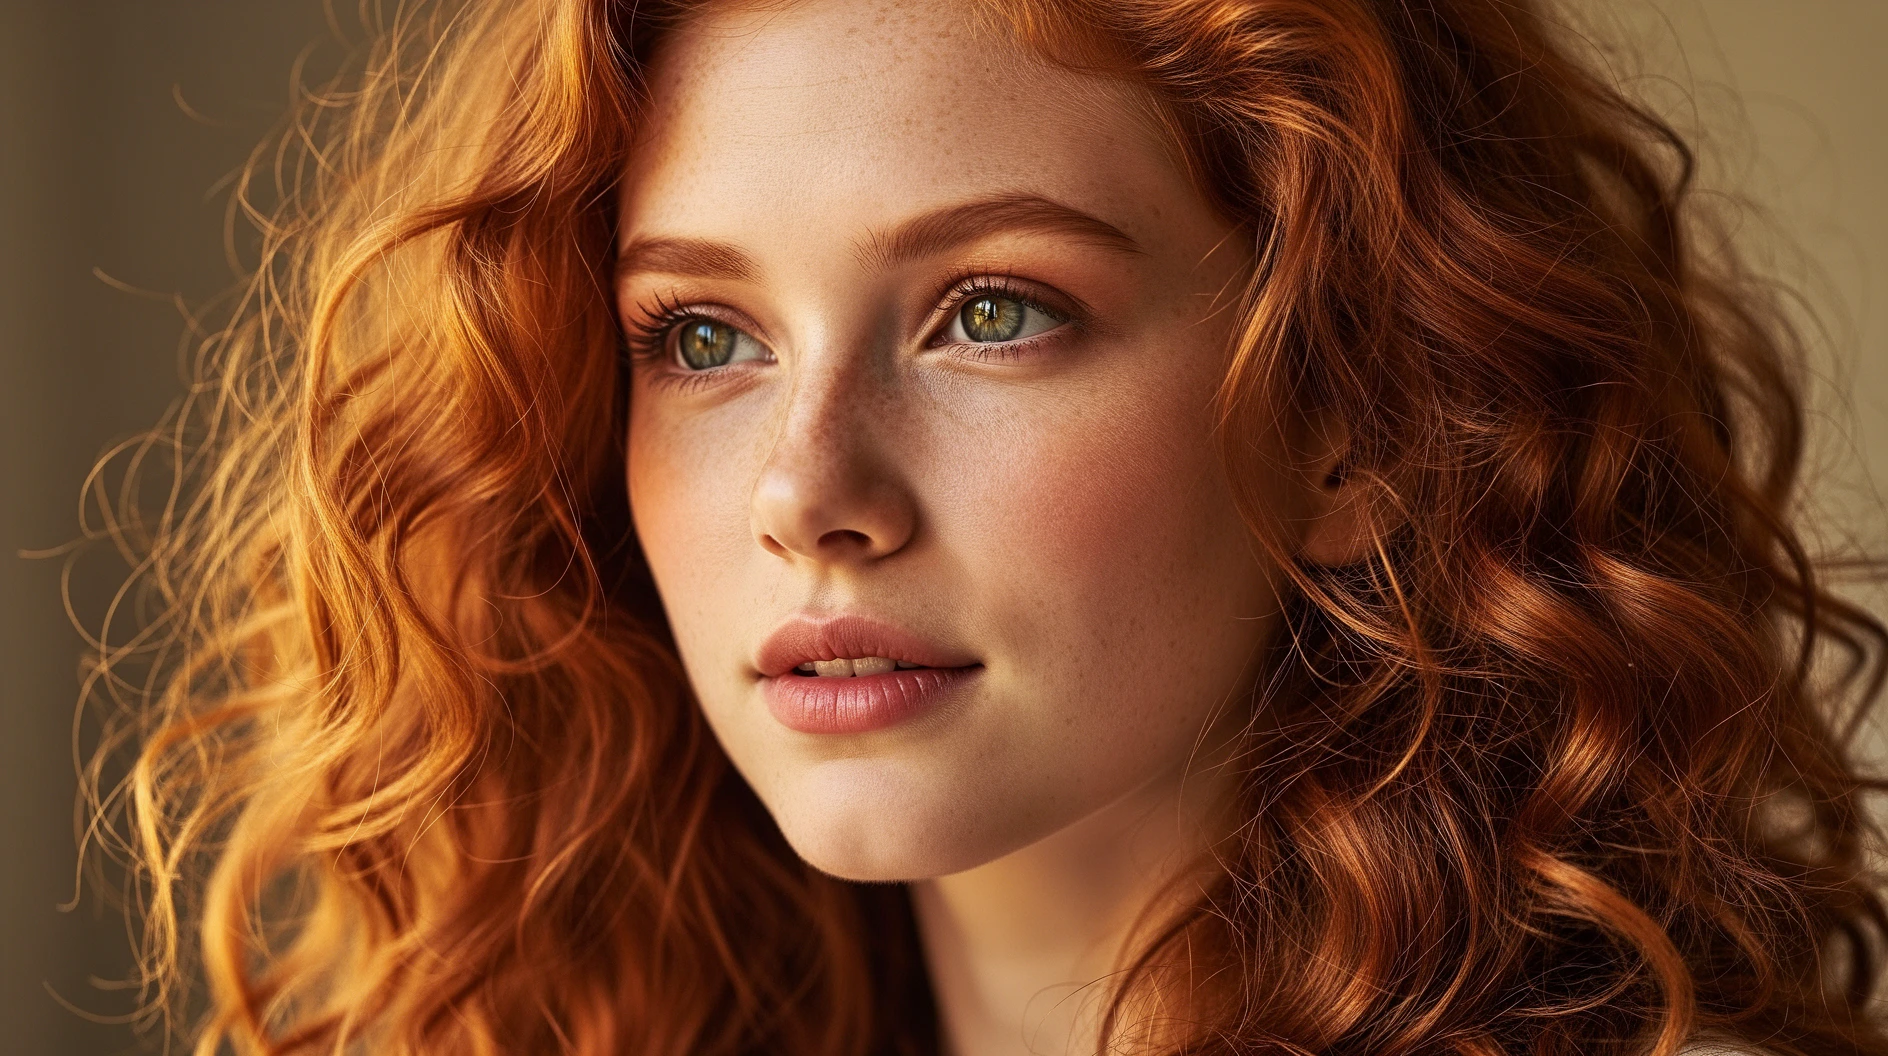
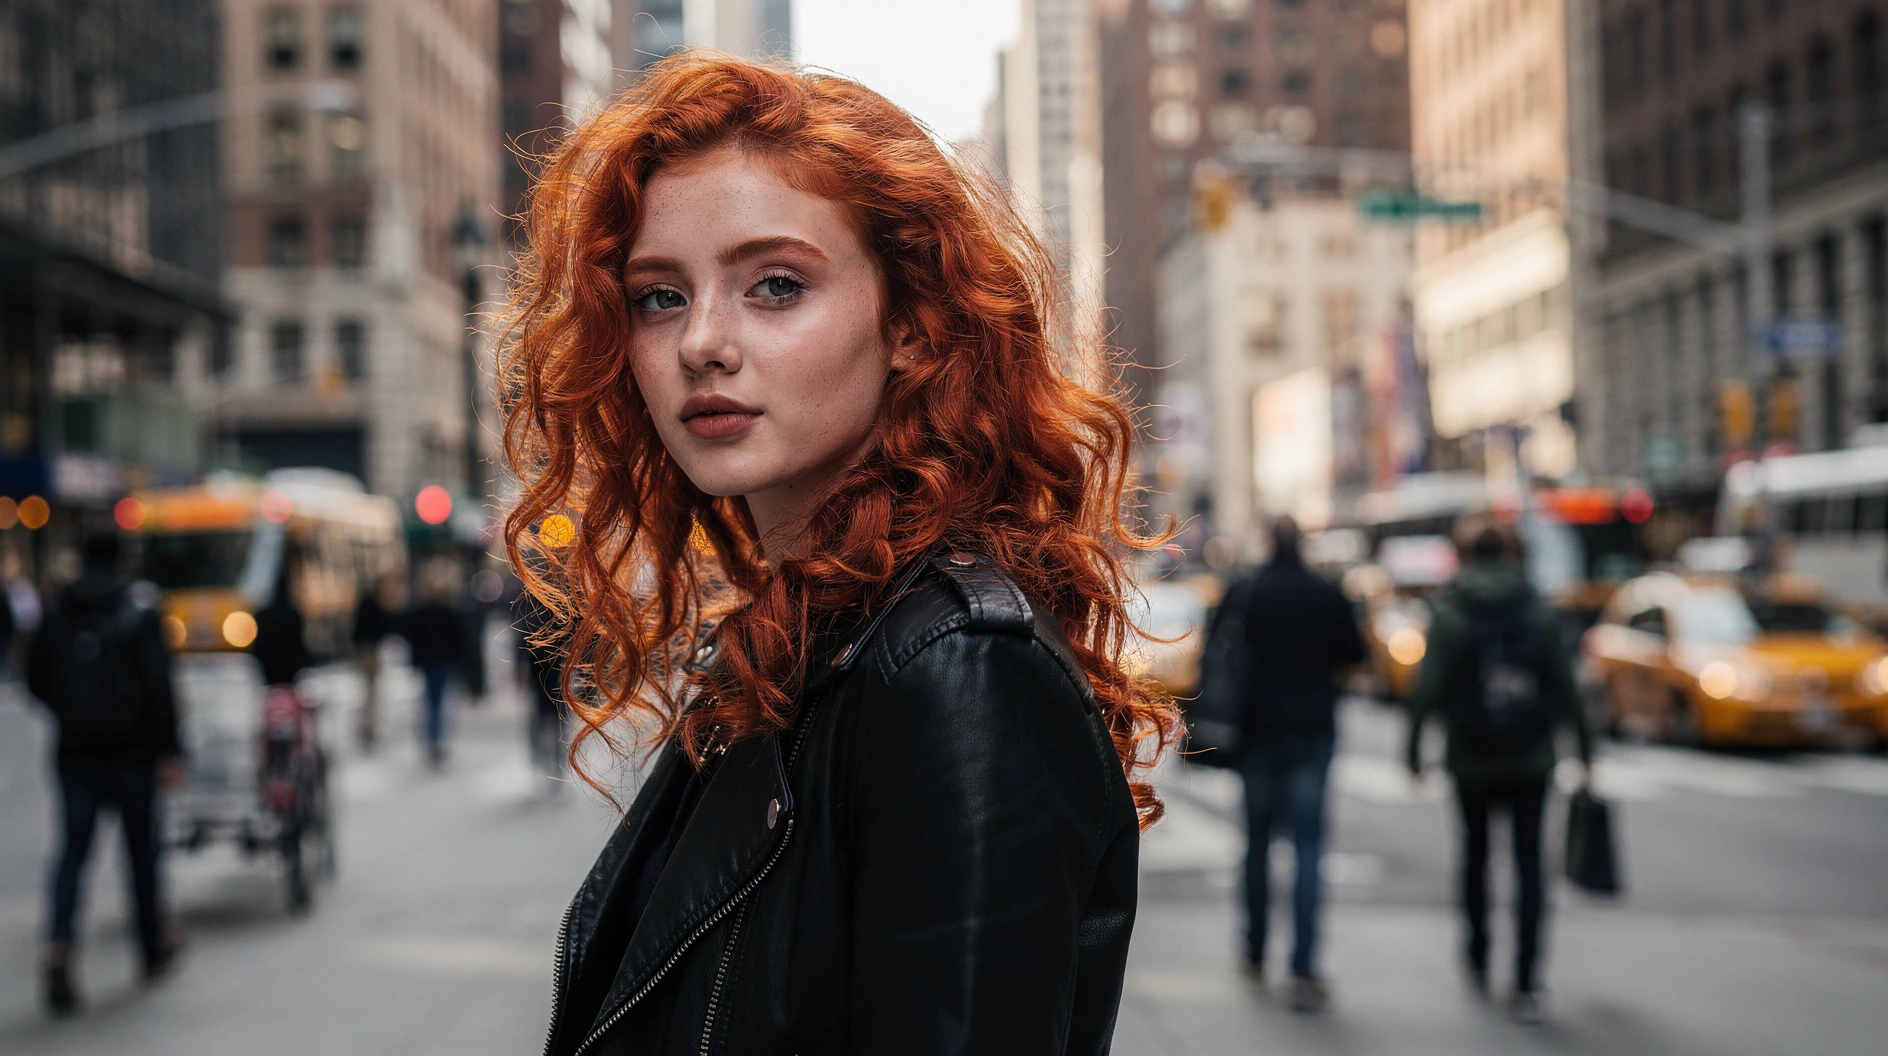
Here are a few visual examples of that structure applied in practice:

<img src="https://cdn.sanity.io/images/2gpum2i6/production/da44ecfd2b1d35befadf9f3bc375dc9198365689-1888x1056.png" alt="Prompt structure example showing a photorealistic portrait" className="mx-auto" style={{ width: "79%" }} />

<img src="https://cdn.sanity.io/images/2gpum2i6/production/5dc2e9059334a6c6c6cfa64bcf22afad13648681-1440x398.png" alt="Prompt structure breakdown with labeled prompt components" className="mx-auto" style={{ width: "92%" }} />

## Start by describing the image

Start with the core subject or content of the image.

That can be something simple:

* `a cat`
* `a family on a beach`
* `autumn foliage in a park`

Then add the details that make the image more specific and visually interesting.

Useful details include:

* **What the subject is doing**: `looking up`, `playing`, `running`
* **How the action feels**: `joyfully`, `fearfully`, `boldly`
* **The mood of the image**: `ominous morning rain`, `dangerous sunset mountains`, `nostalgic coffee table`

The more relevant detail you provide, the more likely you are to get a compelling result. But each model interprets prompts differently, so the same wording will not behave identically everywhere.

For FLUX, the most reliable pattern is usually:

1. Start with a clear subject
2. Add the main action or state
3. Add mood, context, and visual direction only when they improve the image
<Warning>
  Specific detail helps. Filler hurts.
</Warning>

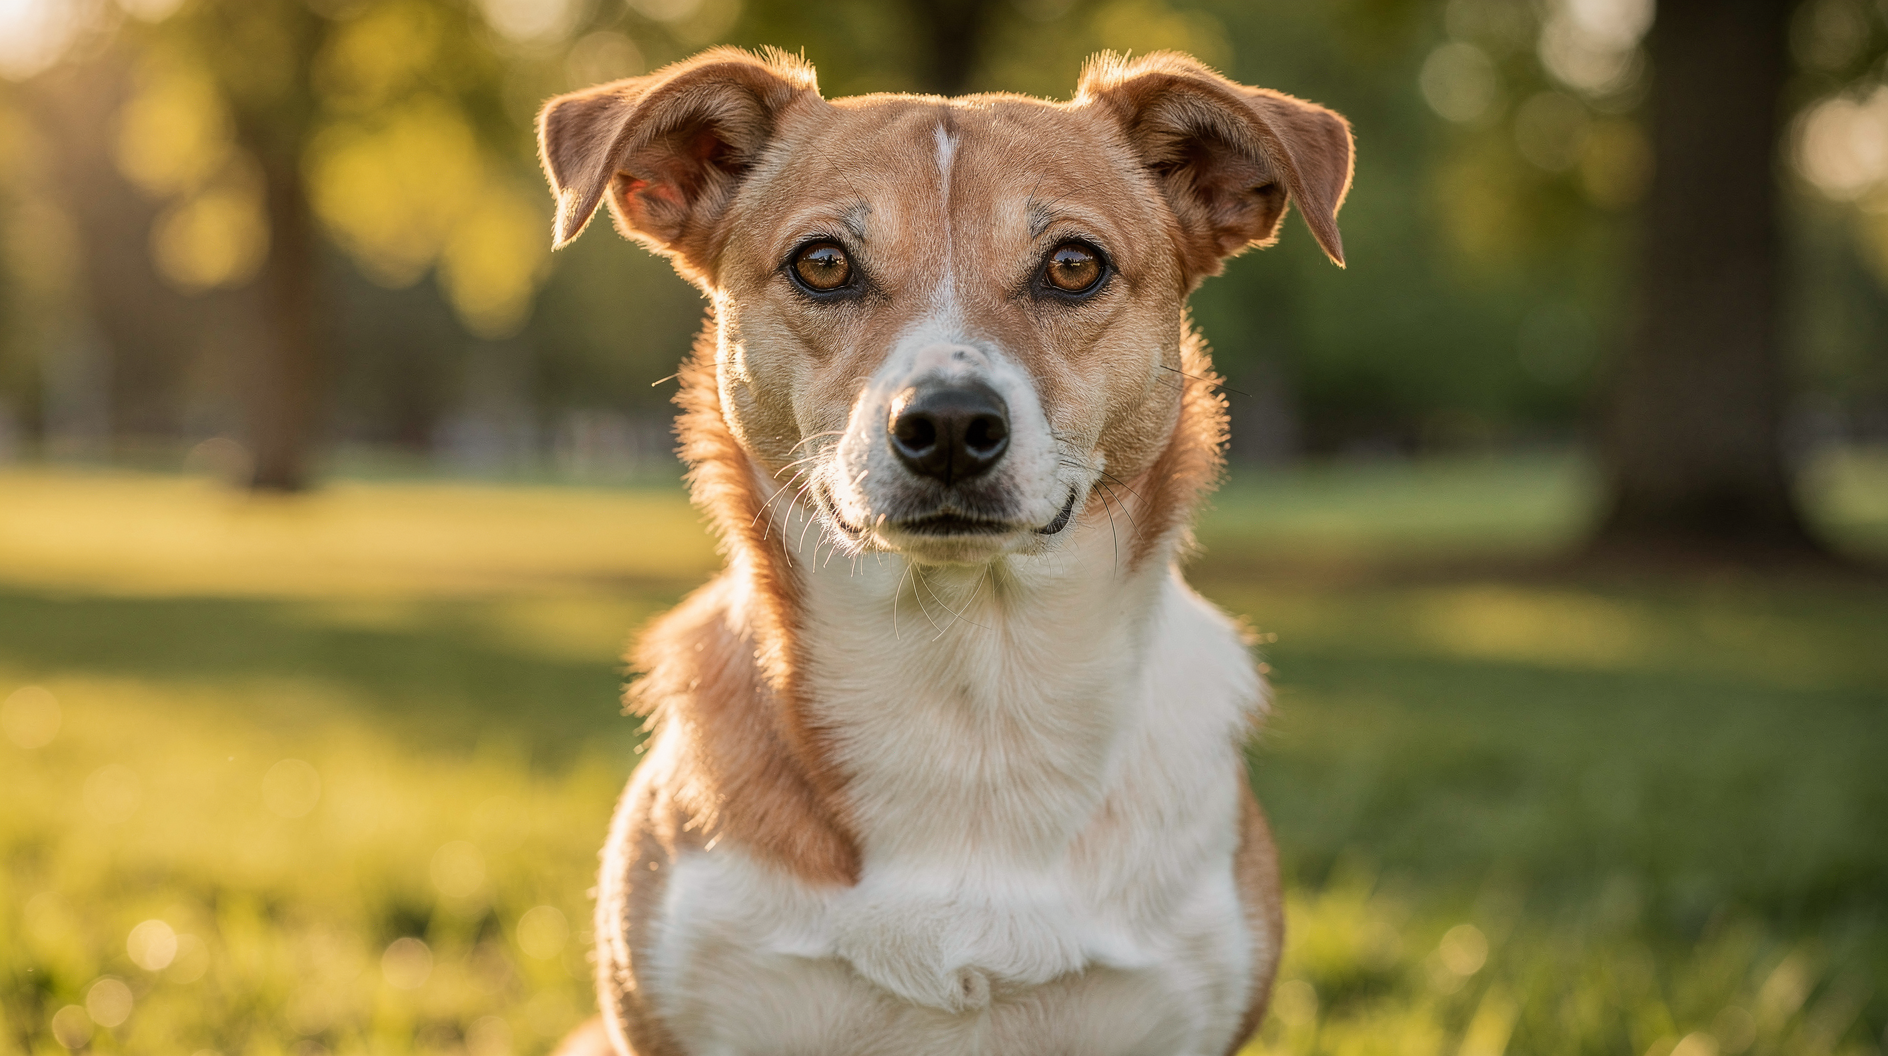
The difference between a simple prompt and a directed prompt is often easy to see:

<Columns cols={2}>
  <div>
    <img src="https://cdn.sanity.io/images/2gpum2i6/production/ba997b2d9c1715f13763cfe585864db1a8b4bcbe-1888x1056.png" alt="Basic prompt: dog in park" />

    <PromptDisplay prompt="A dog sitting in a sunny park" />
  </div>

  <div>
    <img src="https://cdn.sanity.io/images/2gpum2i6/production/7412a29a1a5c8f3fb7668c161bca0572f5682a71-1888x1056.png" alt="Detailed prompt: golden retriever jumping in living room" />

    <PromptDisplay prompt="A golden retriever mid-leap chasing a tennis ball across a sunlit hardwood floor in a cozy living room, muddy paw prints trailing behind, warm afternoon light streaming through sheer curtains, shallow depth of field, candid pet photography, 35mm lens" />
  </div>
</Columns>

## The prompt components

| Component               | What it controls                             | Example                                       |
| ----------------------- | -------------------------------------------- | --------------------------------------------- |
| **Image type**          | The overall category or framing of the image | `portrait`, `landscape`, `macro`              |
| **Subject**             | The main thing you want to see               | `a young woman with curly red hair`           |
| **Location**            | The setting or environment                   | `in a futuristic space station`               |
| **Style**               | The artistic or visual direction             | `editorial photography`, `anime illustration` |
| **Camera settings**     | Lens, framing, depth of field, shot style    | `85mm lens, shallow depth of field`           |
| **Lighting**            | How the image is lit                         | `soft window light`, `golden hour sunlight`   |
| **Colors**              | The dominant palette                         | `muted earth tones`, `deep green and cream`   |
| **Effect**              | Extra visual treatment                       | `motion blur`, `film grain`, `soft bloom`     |
| **Additional elements** | Supporting details that enrich the scene     | `wind-blown fabric, falling leaves`           |

## Image type

The **image type** gives FLUX a broad idea of what kind of image to create.

Even before you describe the subject, it affects composition and visual expectations.

Useful starting points:

* **Portrait**: close-up or medium shot focused on a person or character
* **Landscape**: wide scene showing nature, architecture, or an environment
* **Bird's-eye view**: top-down perspective, as if seen from high above
* **Macro**: extreme close-up showing fine details
* **Abstract**: shape, color, or texture-driven composition

If you are learning how prompt parts change the result, start with a simple image type such as `portrait`. It makes the effect of later additions easier to see.

## Subject

The **subject** is the main focus of the image.

Be specific when it matters. Clear subjects are easier for FLUX to render consistently than vague ones.

Examples:

* `a young woman with curly red hair`
* `an elderly man with a long white beard`
* `a cyberpunk teenager with neon blue hair`
* `a Siamese cat with a blue collar`
* `a single red rose`

## Location

The **location** sets the scene. It provides context and changes the mood of the image even when the subject stays the same.

Examples:

* `in a bustling city street`
* `on a serene beach at sunset`
* `in a futuristic space station`
* `inside a dimly lit jazz club`
* `in a dense forest after rain`

Changing only the location is one of the fastest ways to explore variations on the same concept.

## Style

The **style** tells FLUX what visual language to use. This can be photographic, illustrative, cinematic, painterly, or highly specific to a medium.

Examples:

* `fashion editorial photography`
* `wildlife documentary style`
* `anime illustration`
* `oil painting`
* `minimalist product photography`

If style is central to the result, mention it early and keep it concrete.

### Art form and style

If you want a specific visual effect, describe both the **art form** and the **style**.

#### Photography

Photography is useful when you want realistic images.

You can control:

* framing
* lighting conditions
* lens feel
* camera distance
* depth of field

Example:

`A child playing on a sunny beach, building a sandcastle, action photography, high shutter speed, soft warm light`

#### Painting

Painting prompts work well when you want texture, brushwork, and stronger artistic interpretation.

You can combine:

* techniques such as `oil painting` or `watercolor`
* movements such as `impressionism` or `fauvism`
* artist references when appropriate

Example:

`Impressionist oil painting of a small robot in a garden`

#### Illustration

Illustration is useful when you want a drawn or stylized result rather than a photo-like one.

Examples of illustration directions:

* `pencil drawing`
* `charcoal sketch`
* `cartoon illustration`
* `poster illustration`

Example:

`Illustration of dinosaurs drawn in a childlike style, cute and playful`

#### Digital art

Digital art is useful when you want a more synthetic, graphic, or contemporary visual language.

Example:

`An isolated convenience store in the desert at sunset, lo-fi digital art, nostalgic atmosphere`

#### Film still

Film still is useful when you want something cinematic and emotionally charged.

Example:

`Buildings on fire, old film still, smoky atmosphere, dramatic contrast`

#### Other art forms

You can also experiment with:

* `sculpture`
* `collage`
* `street art`
* `textile art`
* `installation art`
* `ceramic art`
* `lithography`

Mixing art forms and styles can lead to strong results, but keep the combination coherent.

## Camera settings

The **camera settings** define how the image is framed or captured. This is most useful when you want a photographic result.

Examples:

* `85mm lens`
* `wide-angle shot`
* `close-up framing`
* `shallow depth of field`
* `shot from a low angle`

Use these when framing matters. If the exact camera look is not important, you can skip this part.

### Framing

Framing controls how the subject is positioned in the image.

Prompt order matters here too. If FLUX keeps pulling too far back, make the subject clear first and move environmental details later in the sentence.

This version can lead to a wider scene than intended:

`Person standing inside a forest fire, strong determined attitude, close-up shot, realistic`

This rewrite usually gives you more control:

`Person with a strong determined expression, forest fire in the background, close-up shot, realistic`

Useful framing language:

* `close-up`
* `medium shot`
* `wide shot`
* `overhead view`
* `point-of-view shot`
* `dutch angle`
* `low-angle shot`

## Lighting

Lighting shapes contrast, mood, depth, and realism.

Examples:

* `soft window light`
* `golden hour sunlight`
* `harsh direct flash`
* `overcast daylight`
* `neon backlighting`

You can also use:

* `soft light`
* `hard light`
* `dramatic lighting`
* `morning light`
* `sunset light`
* `golden hour`

## Colors

Colors define the palette and help FLUX keep the image visually coherent.

Examples:

* `muted beige and forest green tones`
* `deep blue and silver`
* `warm orange and pink sunset colors`
* `monochrome black and white`
* `desaturated pastel palette`

### Color scheme

Color scheme is especially useful when you want the entire image to feel unified.

Example:

`A futuristic busy city, purple and green color scheme`

Lighting already influences color, but explicit palette direction helps FLUX stay more consistent.

## Effect

Effect adds visual treatment on top of the base scene.

Examples:

* `film grain`
* `soft bloom`
* `motion blur`
* `bokeh`
* `double exposure effect`

Use one or two strong effects. Too many can make the image feel unfocused.

## Additional elements

Additional elements are the supporting details that make an image feel complete.

Examples:

* `floating dust particles`
* `wind-blown fabric`
* `falling leaves`
* `glowing reflections on wet pavement`
* `scattered flowers on the table`

## Detail and realism

You can also add detail or realism cues when you want the image to feel sharper, more polished, or more believable.

Examples:

* `highly detailed`
* `realistic`
* `ultrarealistic`
* `cinematic detail`
* `sharp texture detail`

Avoid stacking too many generic quality terms. One or two strong realism cues are usually enough.

## Build one prompt step by step

Here is the same idea expanded gradually:

<Steps>
  <Step title="Start with image type and subject">
    `portrait, a young woman with curly red hair`

    <Frame>
      <img src="https://mintcdn.com/bfl/yLuOs0OAivnX2QAS/images/building-steps/step1-subject.png?fit=max&auto=format&n=yLuOs0OAivnX2QAS&q=85&s=e2688d6a05a23f875dffc1bc9d66d560" alt="Portrait of a young woman with curly red hair" width="1888" height="1056" data-path="images/building-steps/step1-subject.png" />
    </Frame>
  </Step>

  <Step title="Add the location">
    `portrait, a young woman with curly red hair, in a bustling city street`

    <Frame>
      <img src="https://mintcdn.com/bfl/yLuOs0OAivnX2QAS/images/building-steps/step2-location.png?fit=max&auto=format&n=yLuOs0OAivnX2QAS&q=85&s=c78278e3a91f60e4091d13008267287d" alt="Young woman with curly red hair in a city street" width="1888" height="1056" data-path="images/building-steps/step2-location.png" />
    </Frame>
  </Step>

  <Step title="Add the visual direction">
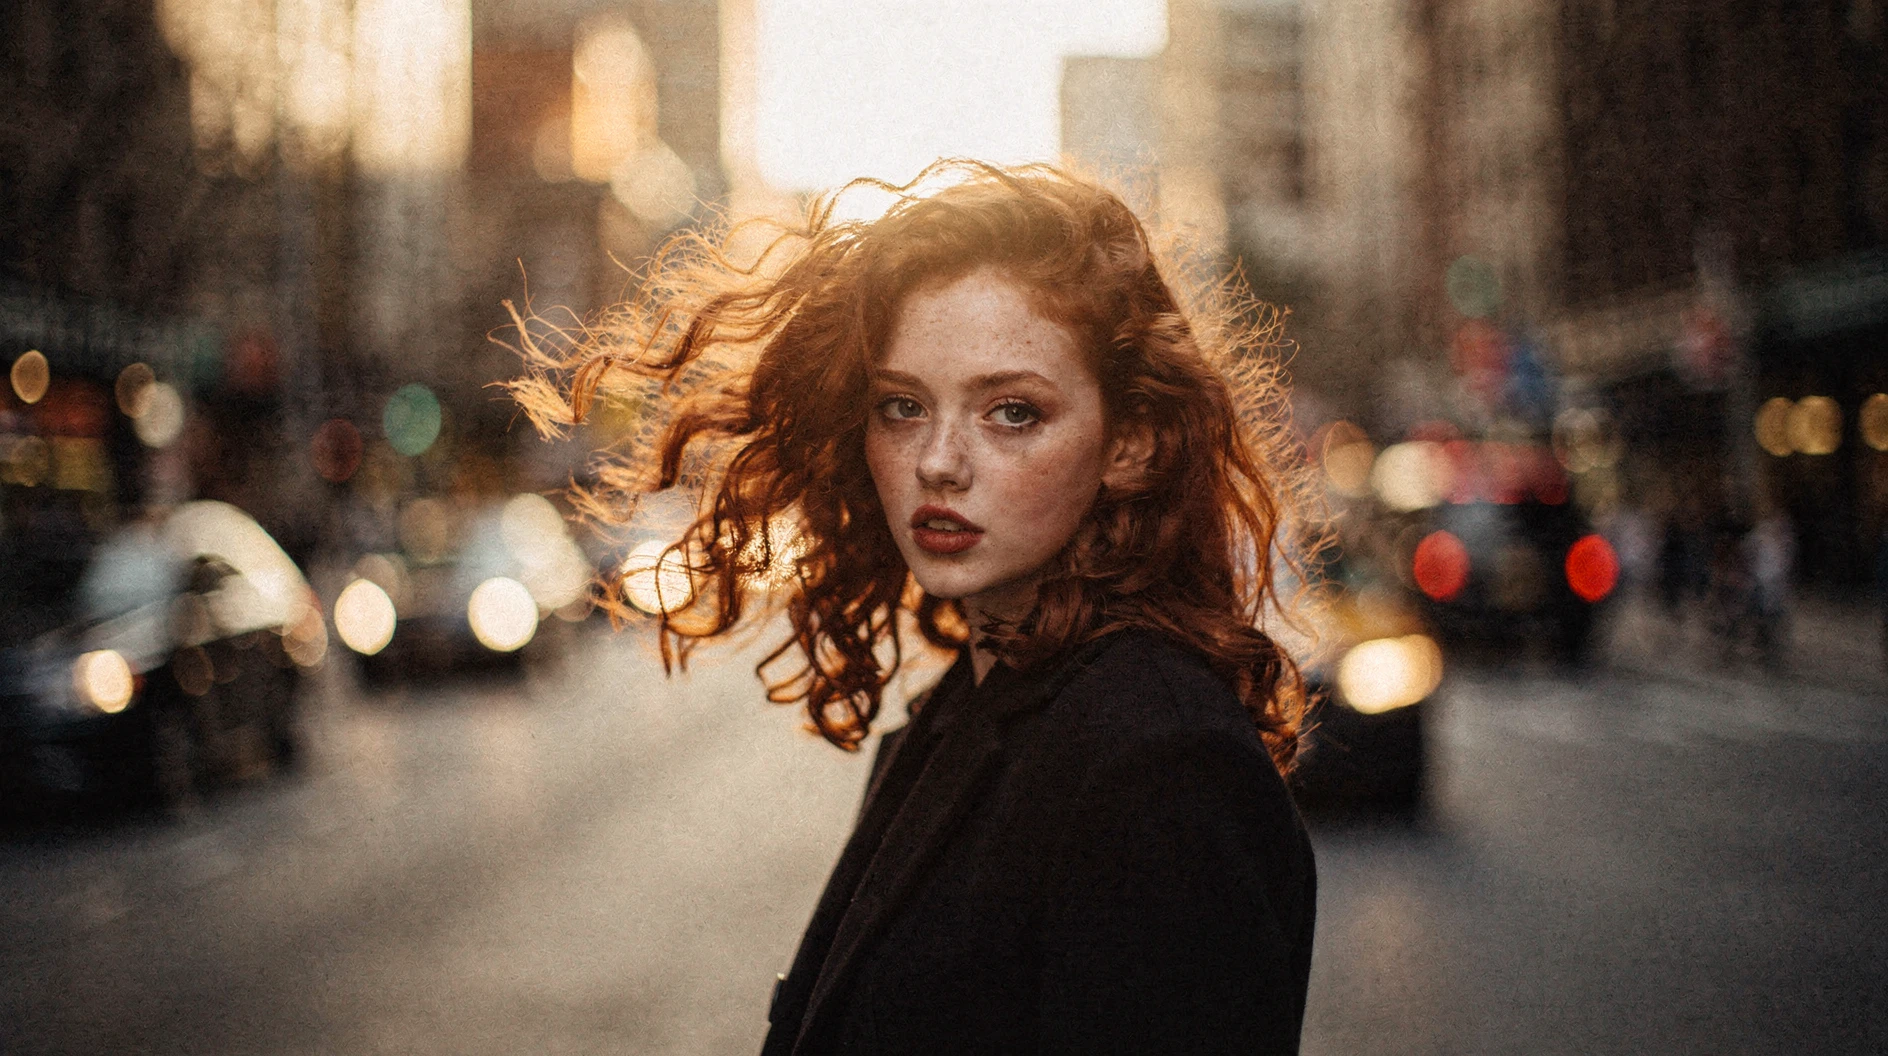
    `portrait, a young woman with curly red hair, in a bustling city street, fashion editorial photography, 85mm lens, soft golden hour light`

    <Frame>
      <img src="https://mintcdn.com/bfl/yLuOs0OAivnX2QAS/images/building-steps/step3-direction.png?fit=max&auto=format&n=yLuOs0OAivnX2QAS&q=85&s=266d17bc02cb5483b785ea0f9abafb76" alt="Fashion editorial portrait with golden hour light" width="1888" height="1056" data-path="images/building-steps/step3-direction.png" />
    </Frame>
  </Step>

  <Step title="Refine with color and detail">
    `portrait, a young woman with curly red hair, in a bustling city street, fashion editorial photography, 85mm lens, soft golden hour light, warm amber and charcoal tones, subtle film grain, wind-blown hair and blurred city lights`

    <Frame>
      <img src="https://mintcdn.com/bfl/yLuOs0OAivnX2QAS/images/building-steps/step4-detail.png?fit=max&auto=format&n=yLuOs0OAivnX2QAS&q=85&s=d342f8baee7fd119716f1604980d8fb6" alt="Final portrait with warm tones, film grain, and wind-blown hair" width="1888" height="1056" data-path="images/building-steps/step4-detail.png" />
    </Frame>
  </Step>
</Steps>

## Practical advice

* Start with the image type and subject.
* Add style and lighting next if the first result feels generic.
* Use colors when you want stronger visual cohesion.
* Add effect and additional elements last. These are refinements, not the foundation.
* If a prompt gets bloated, remove the parts that do not clearly change the image.

<Warning>
  Do not treat the template like a checklist you must always fill out. Strong prompts are specific, not necessarily long.
</Warning>