

Overview
i2v animates from the images you give it — all through one keyframes field. What changes is how many frames you pin and where they sit in the shot:
Startframe
Ini2v, your image sets the opening frame and the prompt drives the motion. Click to animate.
Examples
Start + end frame
Give FLUX 3 two stills — the frame the shot should open on and the frame it should land on — and it generates the motion that carries one into the other. Reach for this when both ends of a shot matter: a reveal that has to resolve on a specific composition, a transformation with a defined before and after, or a loop that must return to where it began. Keep the two frames related — same subject, scene, or camera setup — so the interpolation has a plausible path between them. The wider the gap between start and end, the more freedom (and unpredictability) you hand the model.Examples
Each example shows the two input frames — the start and the end — followed by the clip FLUX 3 generated to bridge them.- City: day to night
- Ink in motion
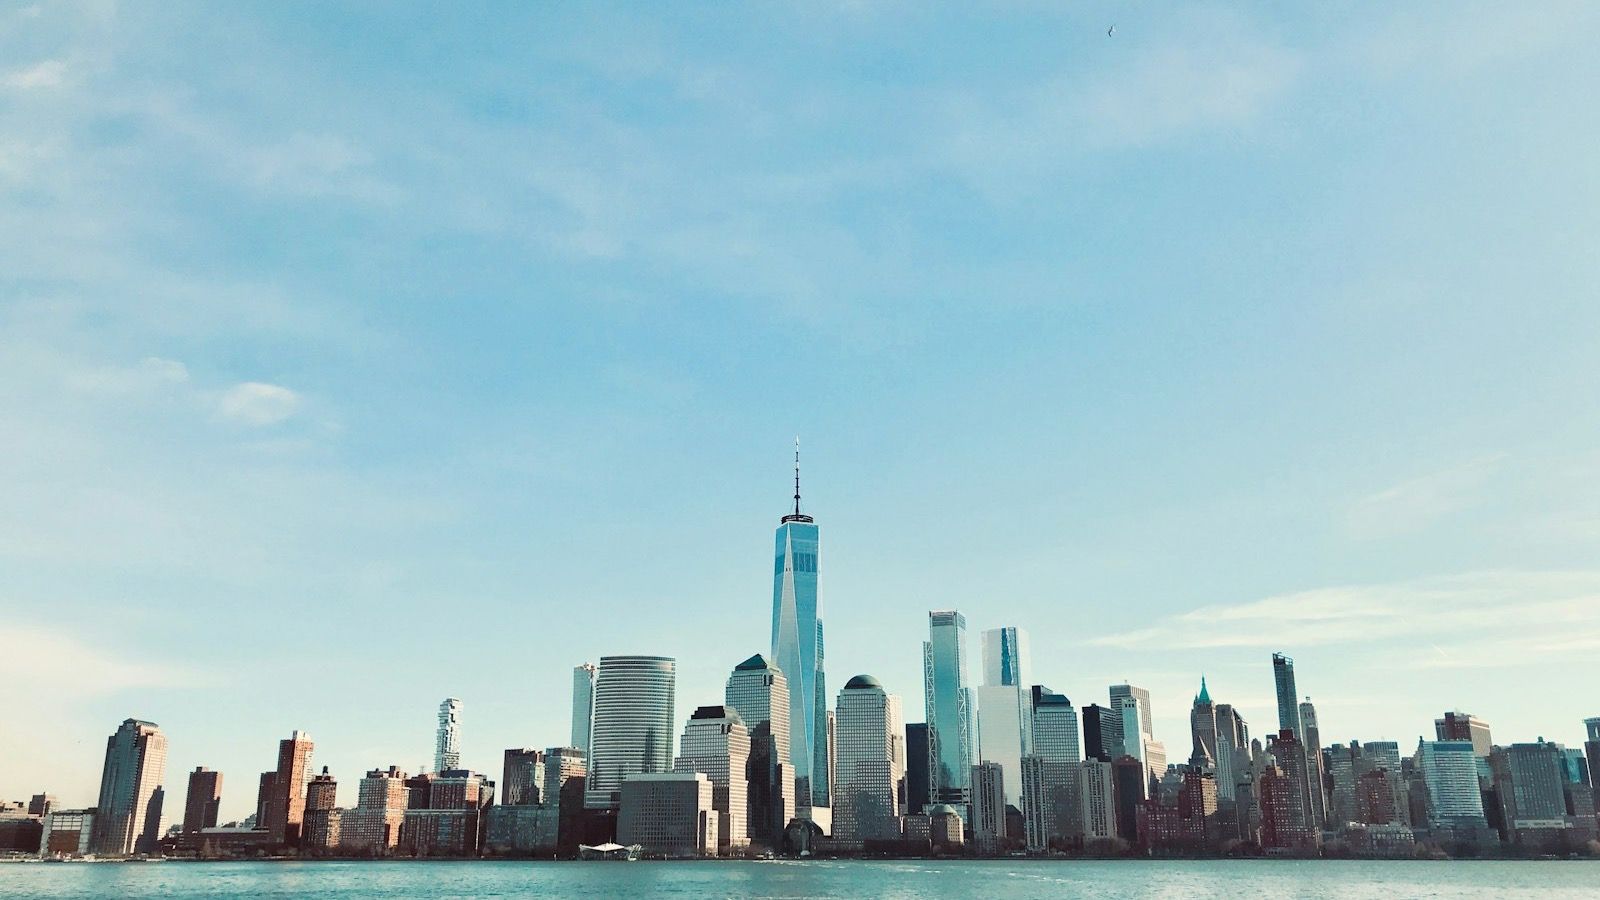
Start frame
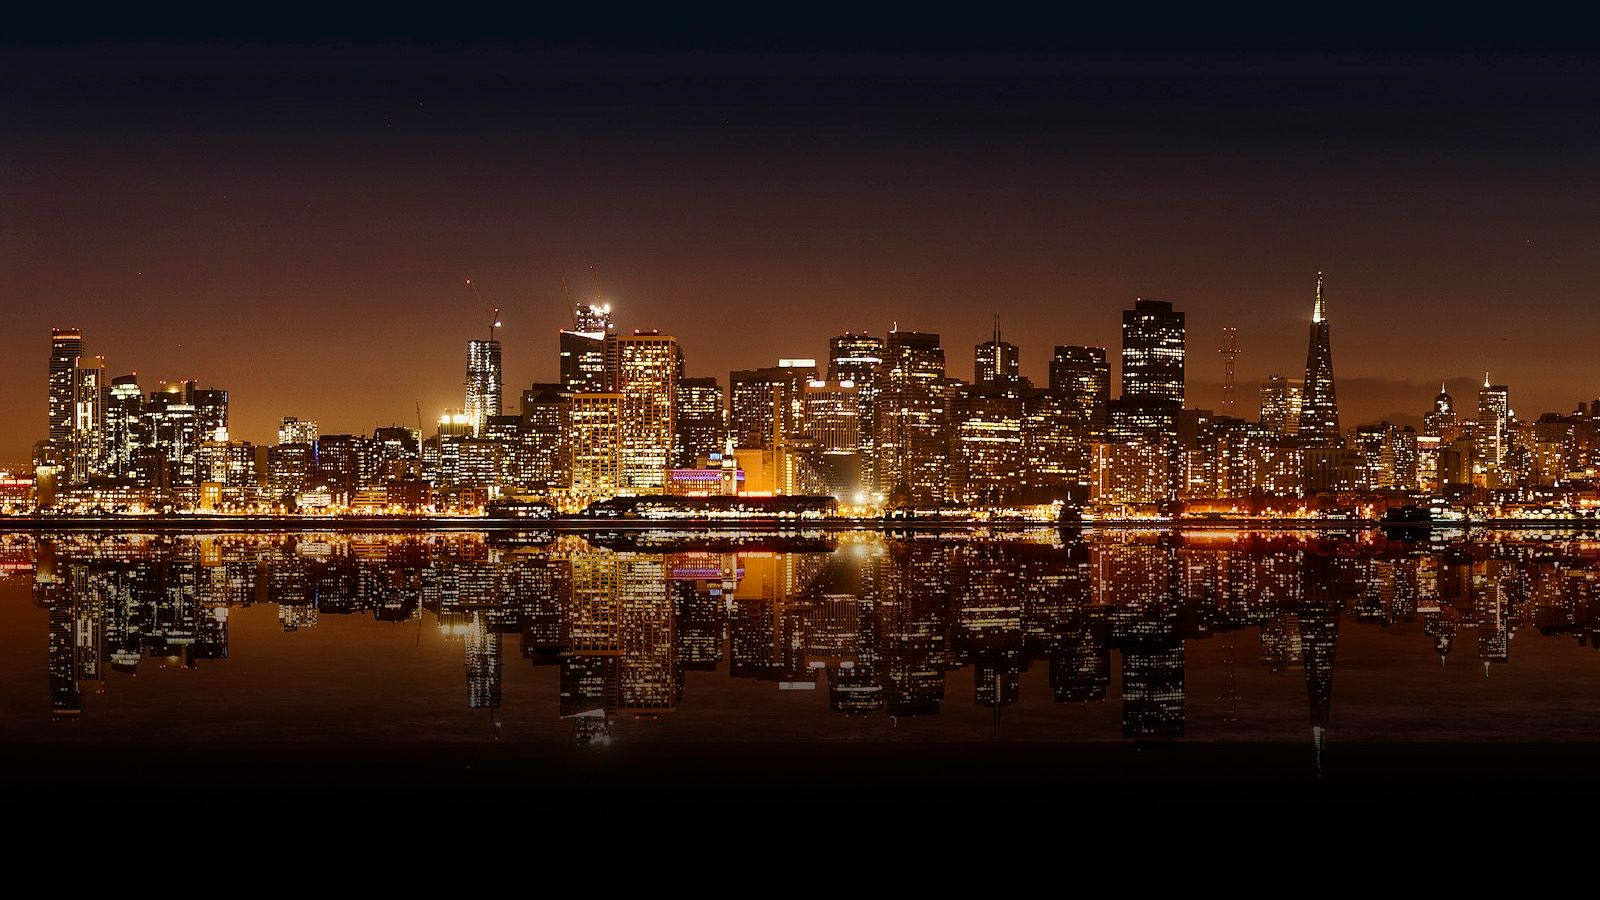
End frame


Keyframes
Pass several stills as ordered waypoints and FLUX 3 interpolates a single continuous shot that moves through each one in turn. Where Start + end frame pins only the two ends, keyframes let you choreograph the moments in between — hit this pose, then this composition, then this one — while the model handles the motion connecting them. Order matters: the frames are read as a timeline from first to last. Space them so each transition is achievable, and keep the look consistent across frames so the shot reads as one take rather than a series of cuts.Examples
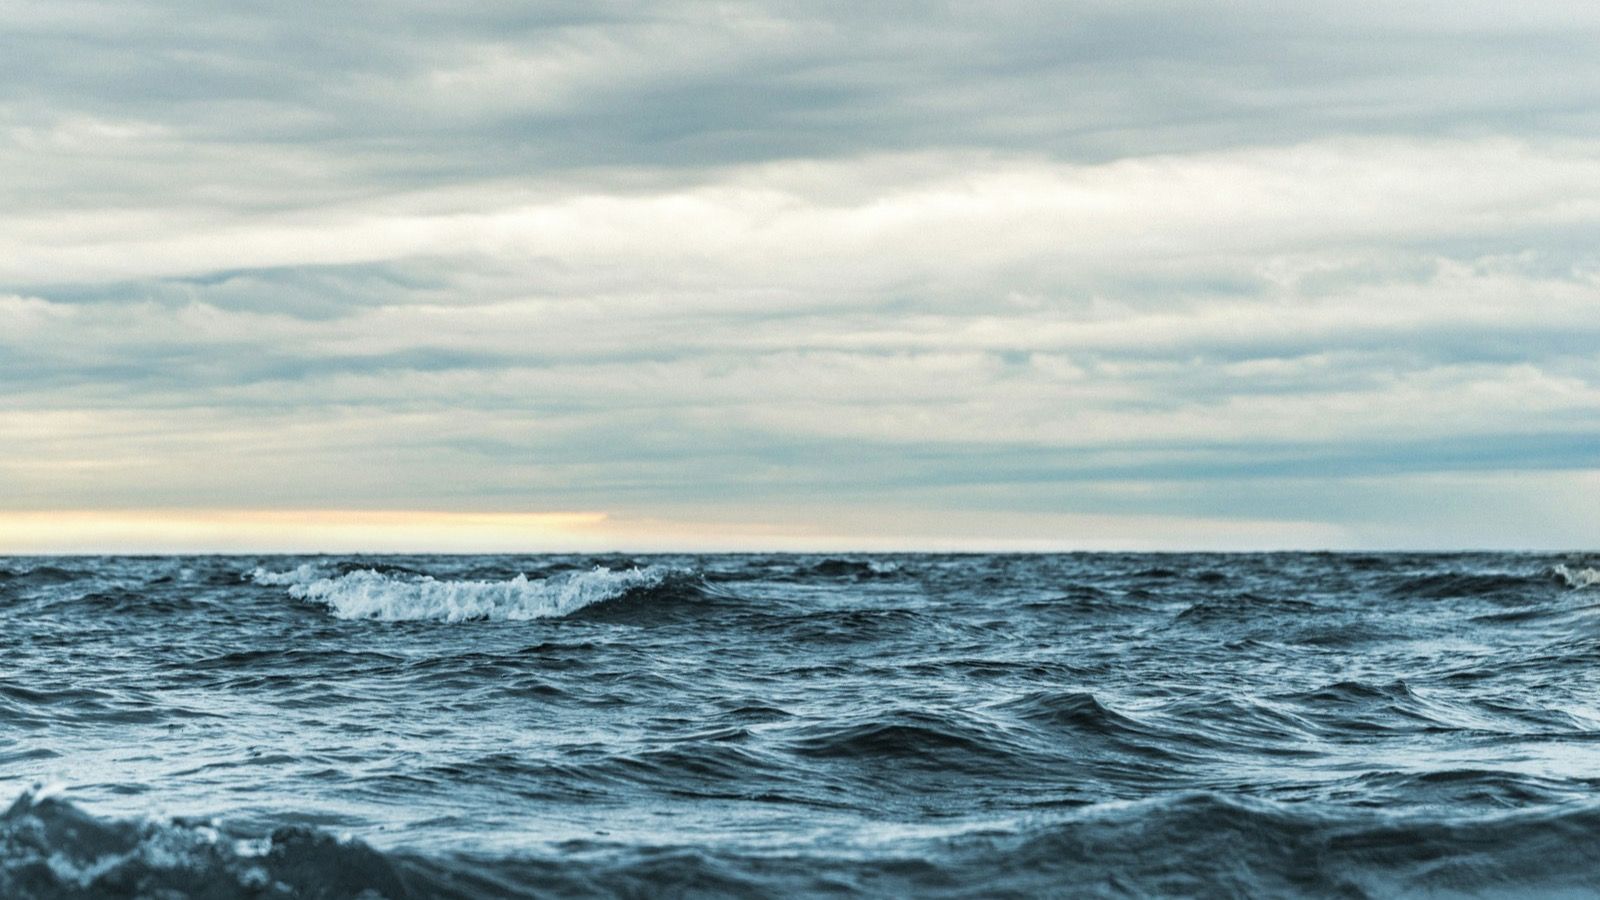
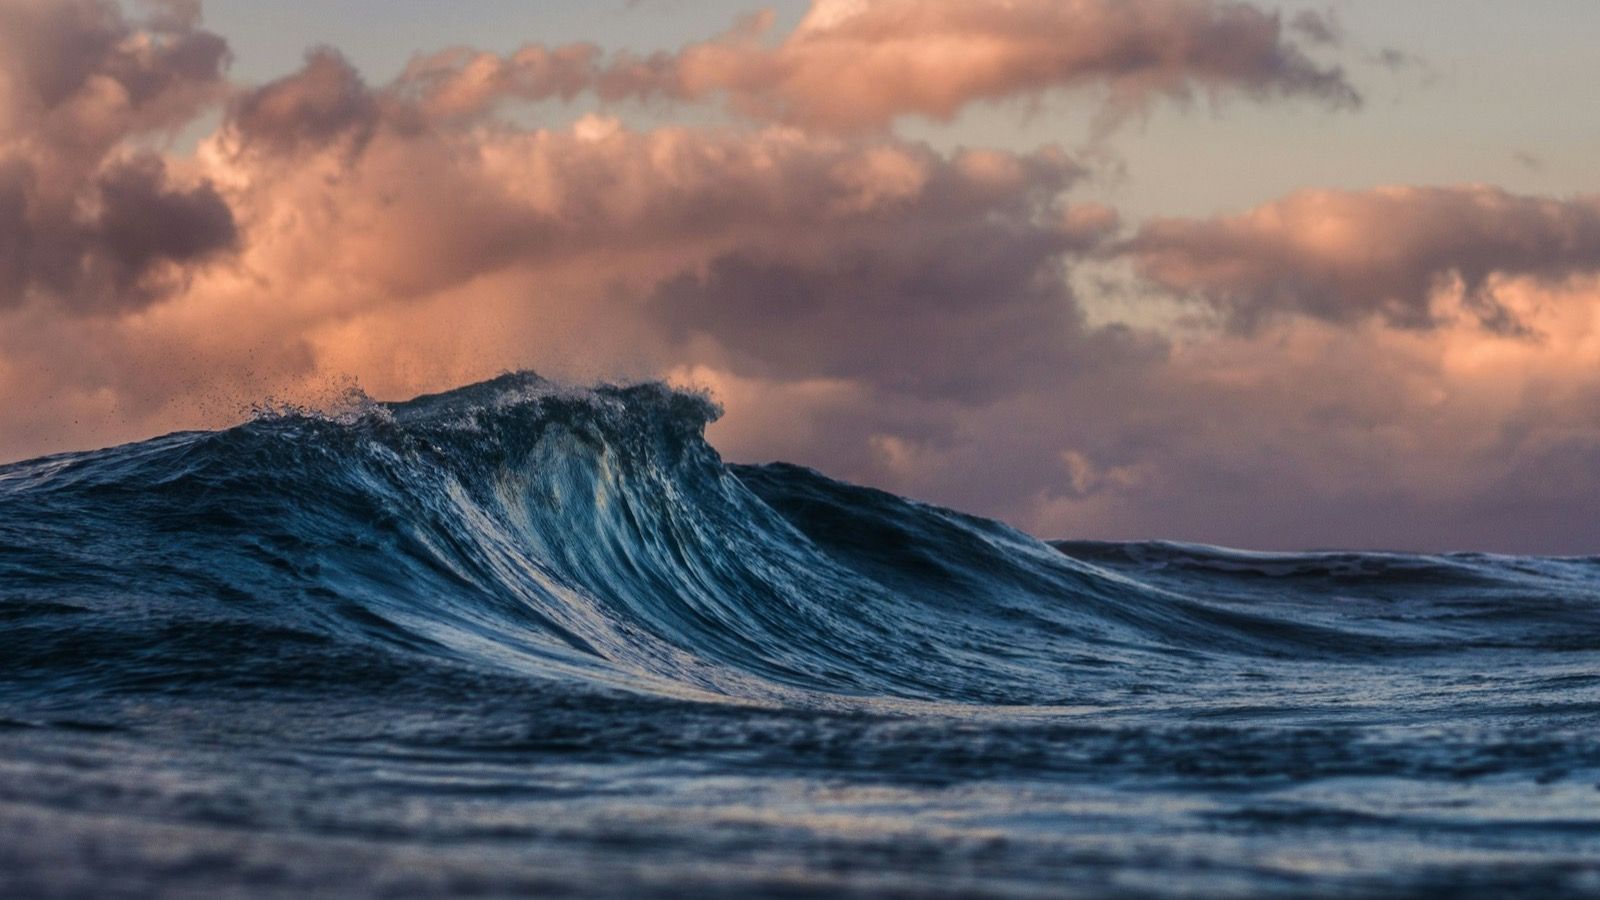
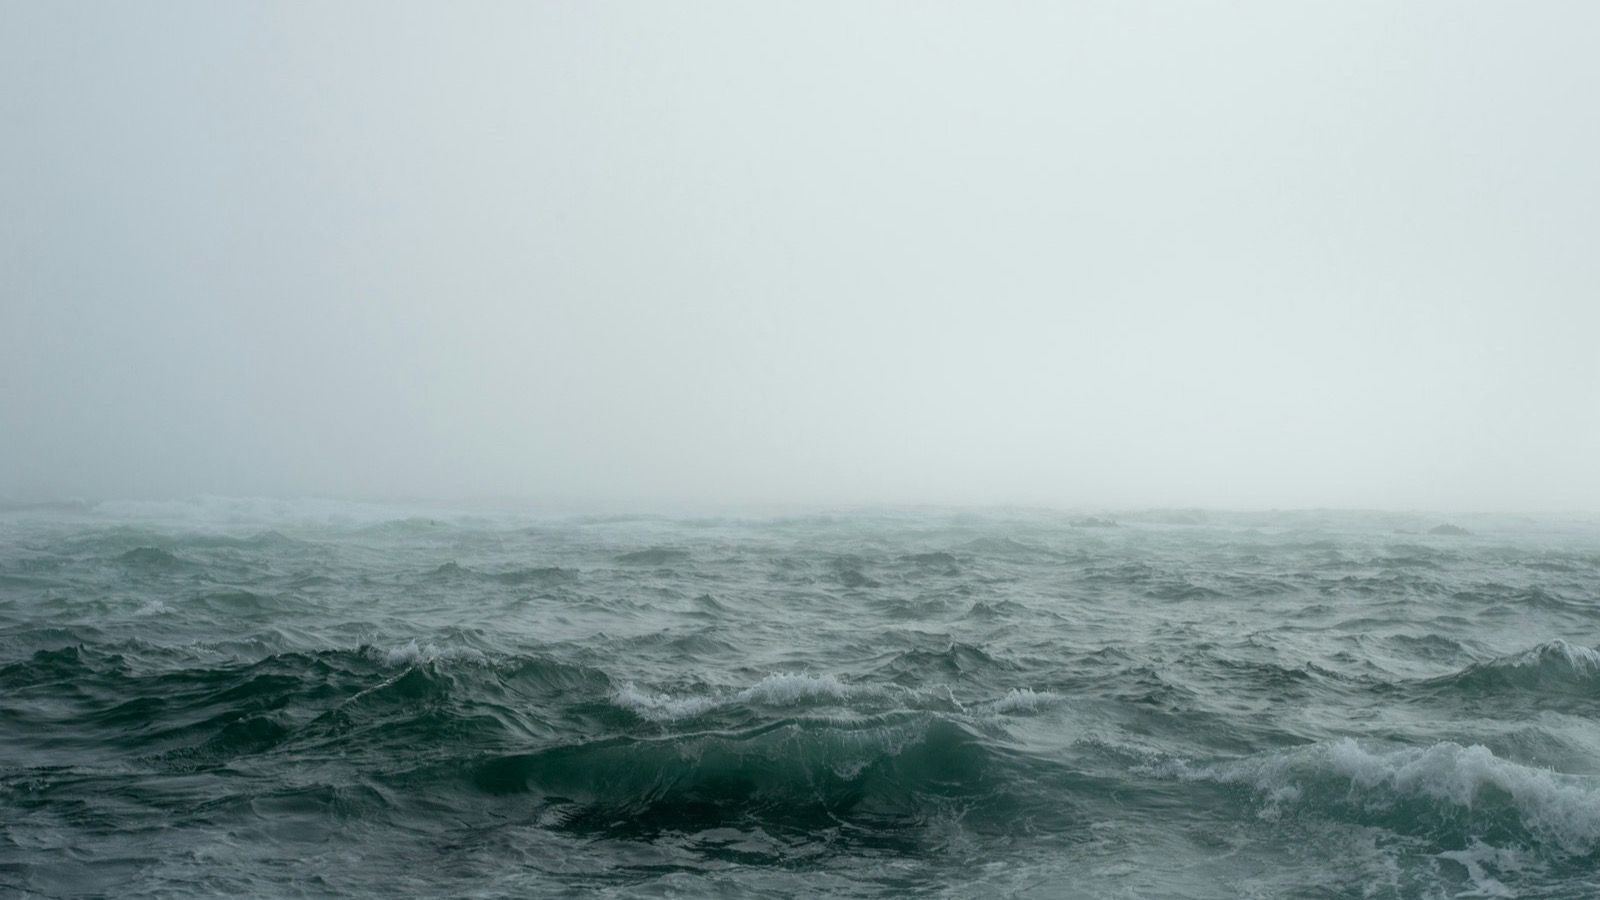
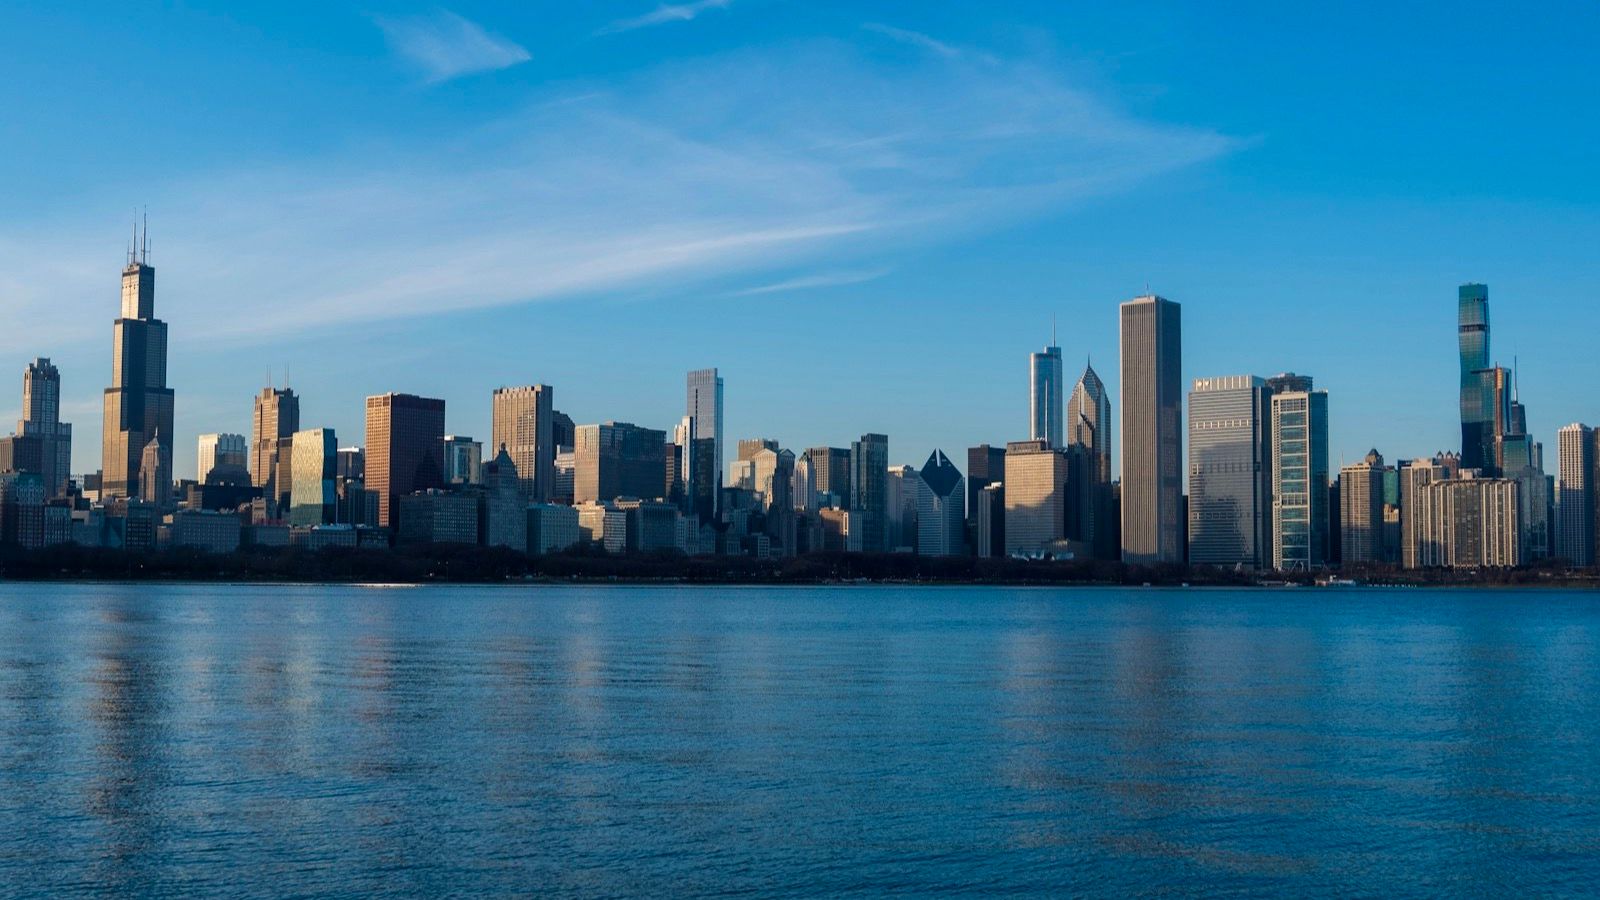
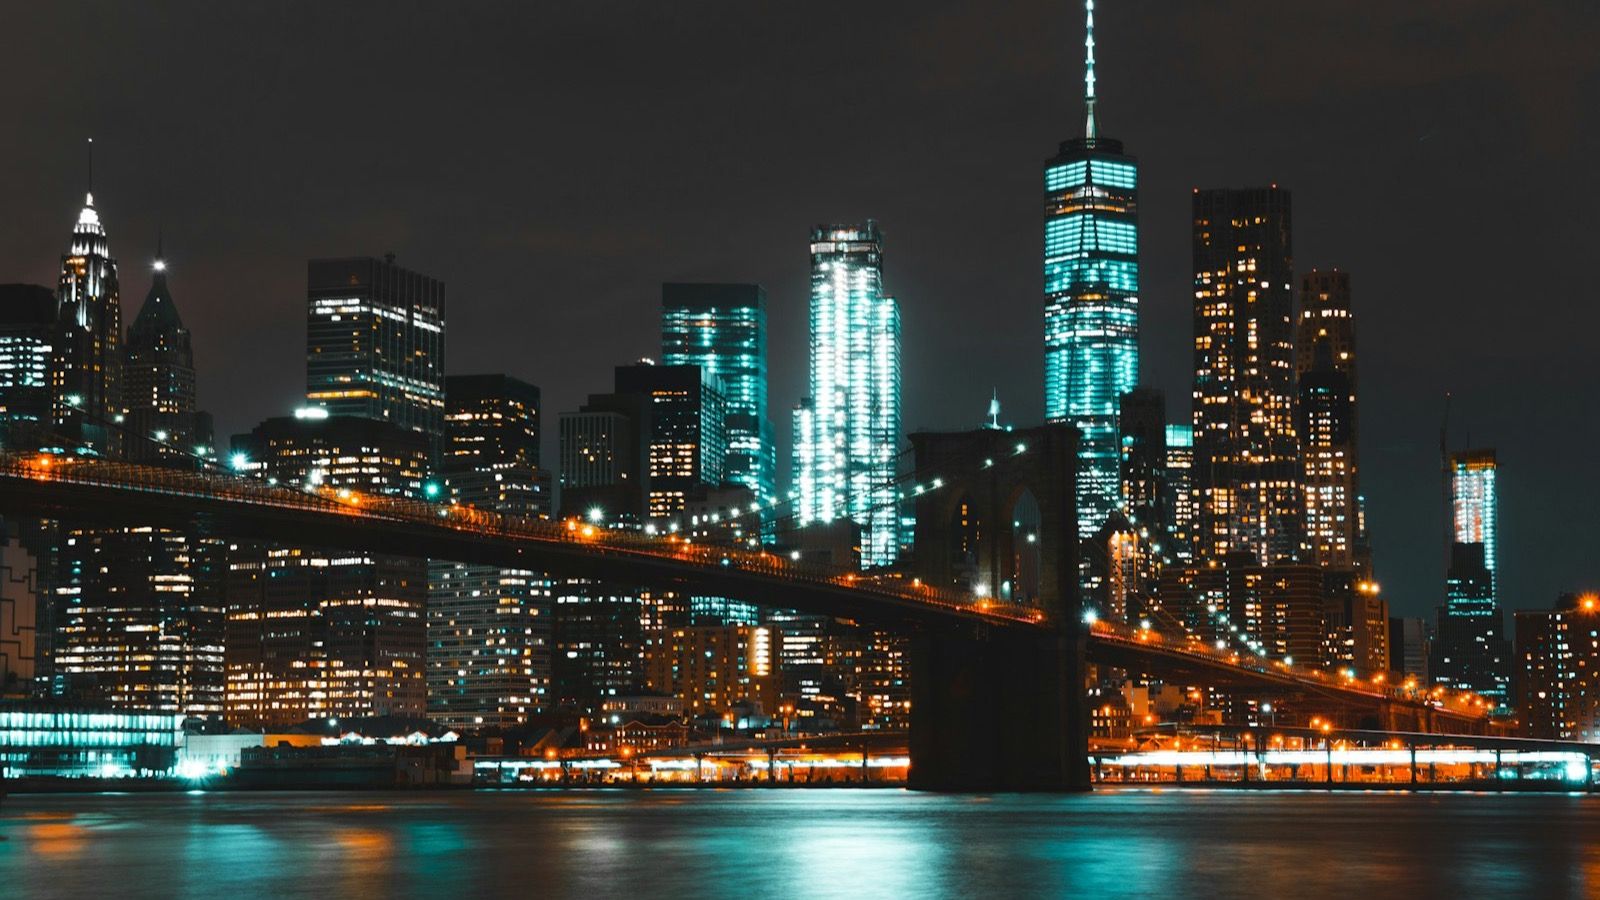
Each example shows the ordered keyframes pinned along a 5-second clip ([[0, …], [2.5, …], [5, …]]) followed by the shot FLUX 3 interpolated through them.
- Aurora
- Rising sea
- City day-cycle

Keyframe 1 — 0s

Keyframe 2 — 2.5s

Keyframe 3 — 5s

Related pages
Video Prompting Overview
Workflow selection and the broader FLUX 3 video prompting framework.
Text-to-Video
Generate a shot from a text prompt when you don’t need a fixed first frame.
Examples & Cheatsheet
Reusable framing, angle, movement, and focus phrasing for your prompts.
FLUX 3 Video
Modes, examples, and workflow breakdowns for FLUX 3 video.